How to Disable the DHCP in LAN settings.
To Disable the DHCP in Local web page, please follow the steps below:
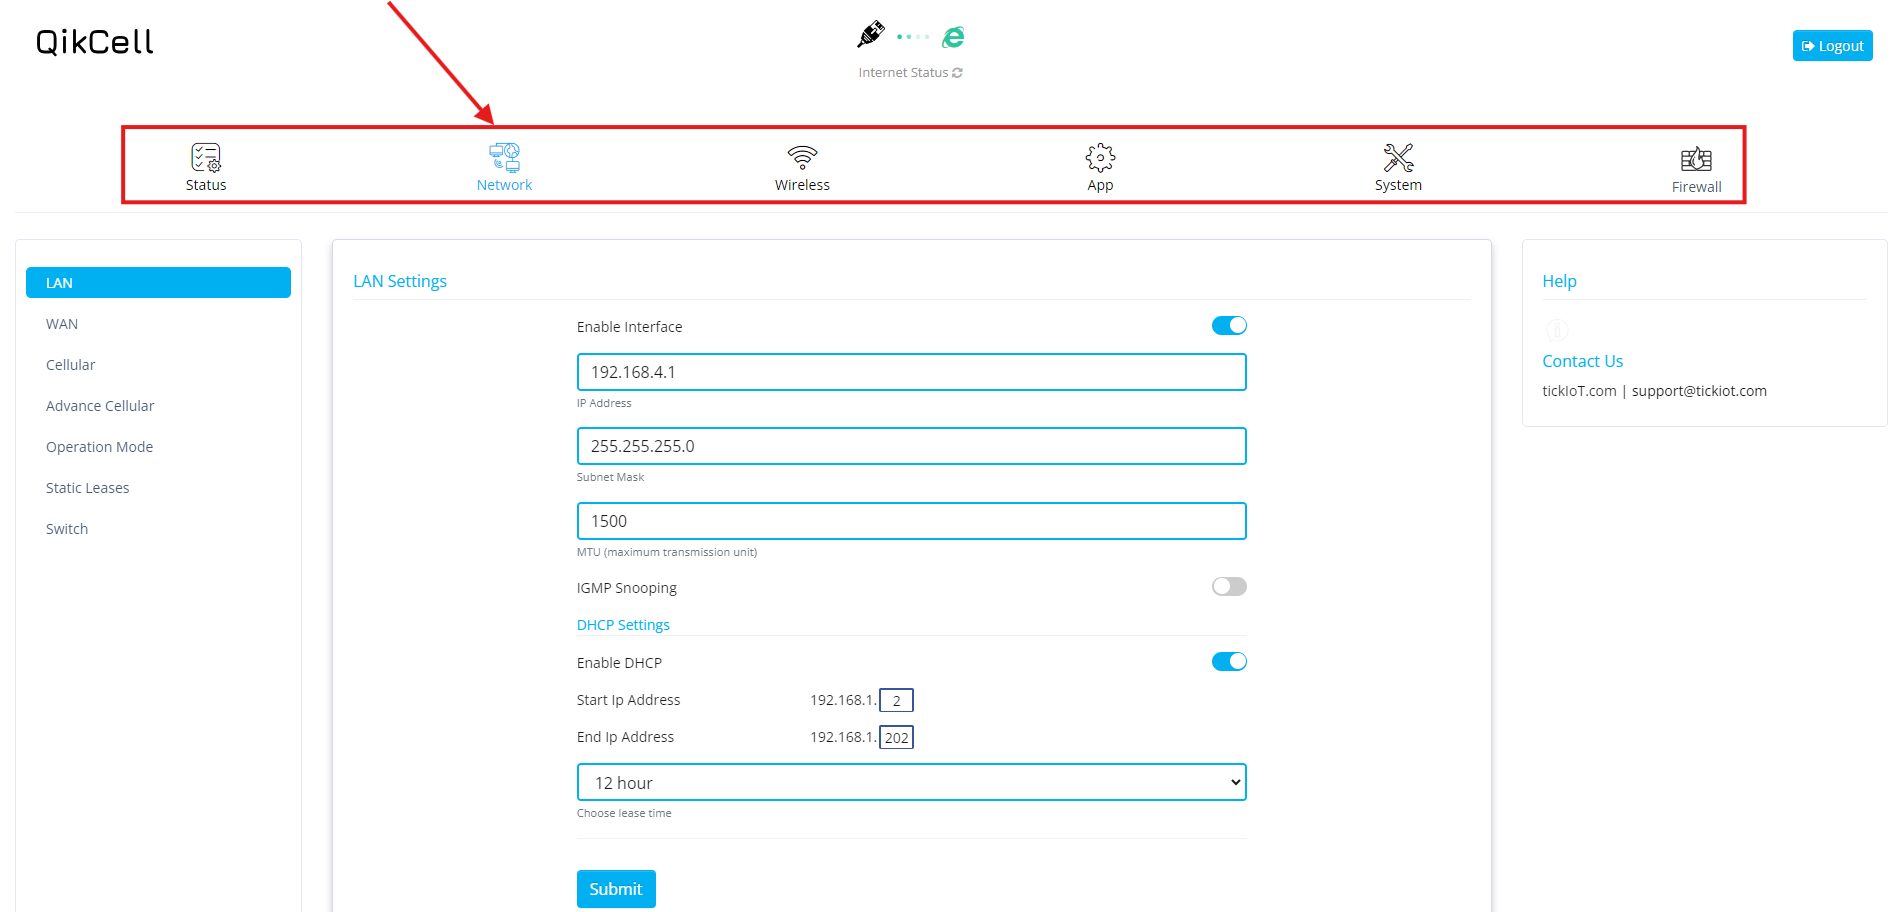
3. Select the Network option to access the available network settings.

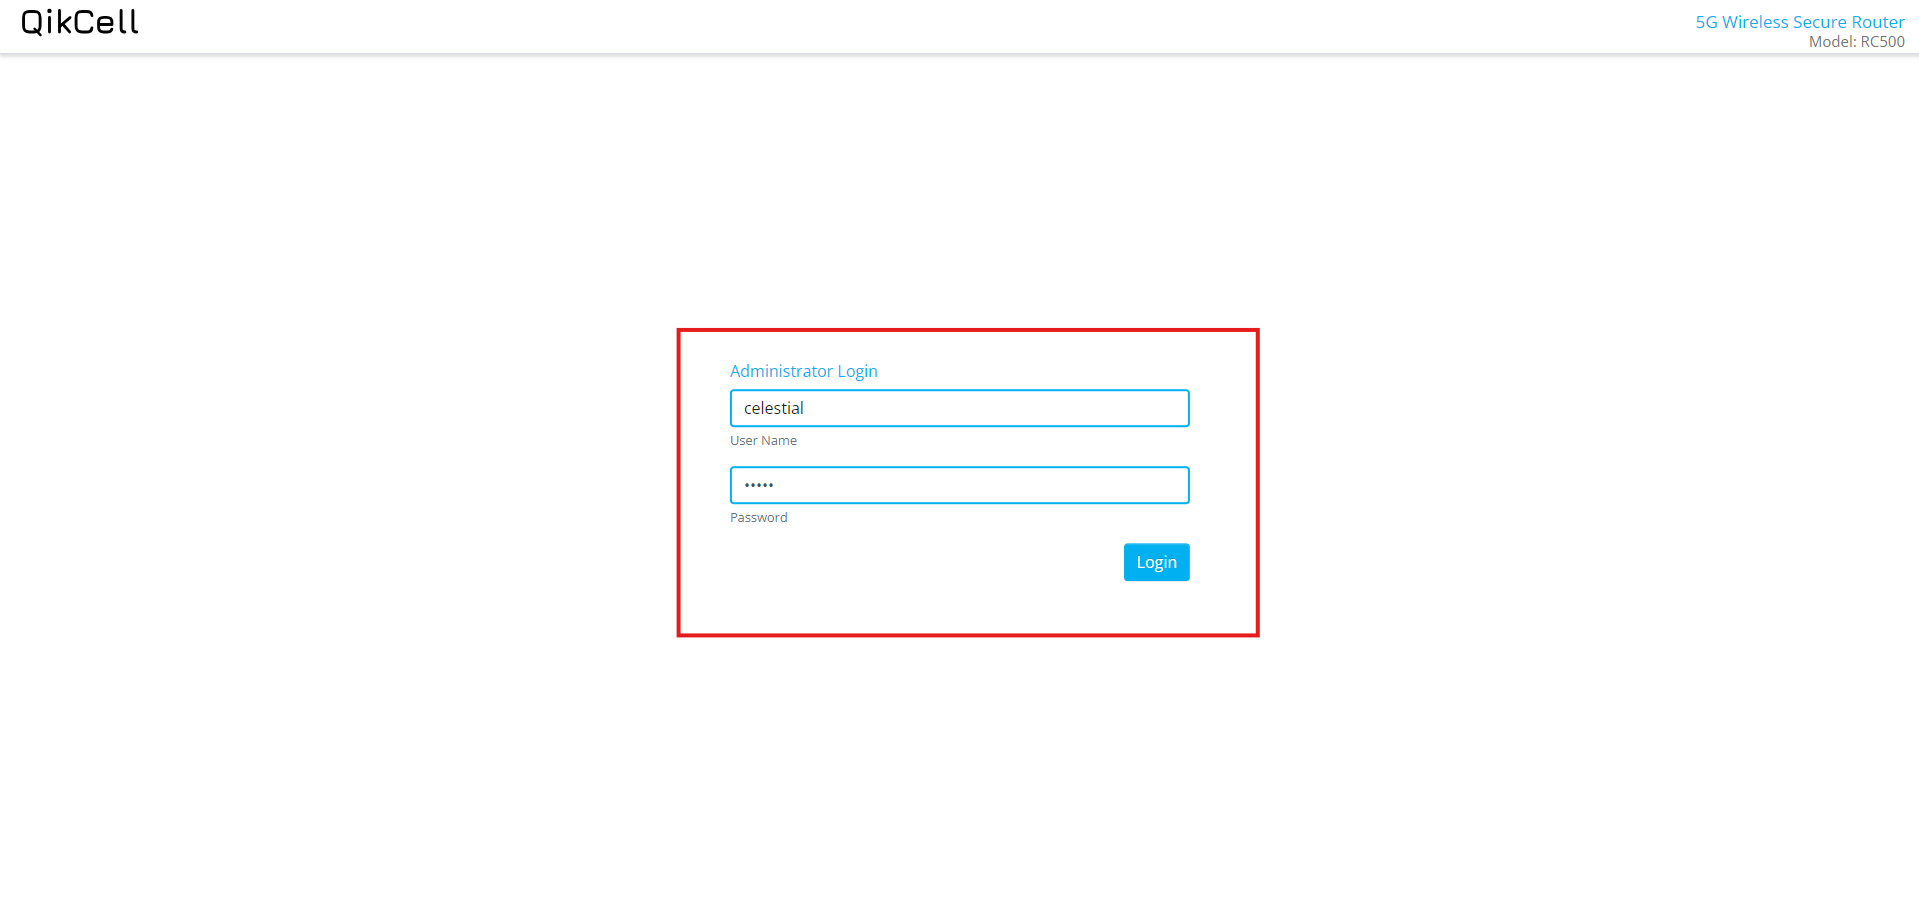
1. Open a web browser and enter the URL 192.168.4.1 to access the login page of the RC500 router.
2. If you are logging in for the first time, use the default credentials:
- Username: celestial
- Password: hellotickiot
3. Select the Network option to access the available network settings.
4. In the Network section, select the LAN option to access LAN settings.

5. In LAN settings, there is a switch labeled Enable/Disable DHCP. If DHCP is currently enabled and you wish to disable it, simply click on the Disable switch, as shown in the image below.
6. Once DHCP is disabled, click the Submit button to apply the changes. The router will automatically reboot for 10 seconds, after which the changes will be successfully saved.